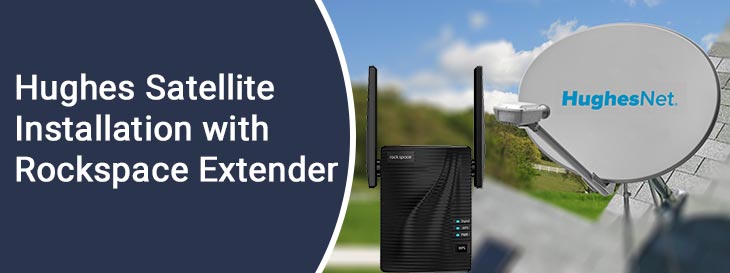
Hughes Satellite Installation with Rockspace Extender
Hughes offers highly anticipated satellites and other networking devices, that let people go online even in those areas of the house that were once declared dead zones. Although installing a Hughes satellite is not a big deal, still some people find it an ordeal. This situation usually occurs when the satellite is to be coupled with a WiFi range extender. Some users even believe that it is not possible to connect a WiFi range extender and a satellite.
However, that is not completely true. You can join your satellite with a WiFi extender. The only condition is that the range extender is compatible with the main WiFi router you own. To end your concern, we have penned down this blog in which we will shed light on the instructions that will help you complete the connection process very easily.
How to Install Hughes Satellite?
Prior to the installation of the Hughes satellite in the house, it is recommended that you check that you have perfectly installed the Rockspace extender by accessing the 192.168.0.254 IP address. Additionally, we also want you to ensure that your range extender is kept in a well-ventilated space.
You also need to ensure that your range extender is far way from devices that use electromagnetic waves to work and objects that contain a large amount of water. There’s one more thing that you need to ensure before connecting Hughes satellite to the range extender i.e. you have not located your range extender close to reflexive surfaces. Once all these things are confirmed, it is recommended that you walk through the steps highlighted below:
- Begin by ensuring that your modem, router, and Rockspace extender are powered up.
- You now need to mount your satellite dish.
- Keep the Hughes satellite four feet off the ground.
- There should be no power lines and other utilities near the satellite.
- Ensure that your satellite dish is mounted in a clear view of the southern sky.
- Connect the Hughes satellite to the LAN port of your Rockspace extender.
- Be sure that the connection is strong and secure.
- Your satellite is now online.
This is how you can connect a satellite to your WiFi range extender. We want you to ensure that your WiFi router and modem are perfectly working. Else, the internet services will not function. The entire connection and setup process might eat up your few hours depending on the home specifications and setup needs. This is to inform you that Hughesnet satellite can be installed by a person by Hughes itself. The reason being, you might not be able to align the satellite yourself. However, the next section will discuss a few techniques that will describe what to do if the Hughes internet service is not working after the installation.
Troubleshooting: Hughes Internet Services Not Working
- Restart the Modem/Router: Whether you call it a power cycle or reboot, all means the same thing. Restarting the modem/router should be the first-stop solution whenever you face any internet-related issues with the Hughesnet. To do that, you just need to unplug your device and wait for 2-5 minutes. Replug the device and check the connection. You are also free to restart your range extender if the internet is still acting out.
- Check the Satellite Dish: There are chances that you’re facing an internet-related issue just because of the satellite only. To sort things, it is recommended that you check the satellite and ensure that it is neat and clean. There shouldn’t be any debris. If there is any, clear it out. However, ensure that you are knocking out the dish from its original position during the entire cleaning process.
- Verify the Data Allotment: You might believe that Hughesnet offers unlimited data. But, it is not 100 percent true. If you’ve used up the premium data allotted to you in a month, you’ll automatically get slower internet speeds. Probably around 1 Mbps or slower that is a clear sign that you’re running out of internet plan. To check the same, it is suggested that you log in to Hughes account.
If you follow the aforementioned tricks carefully, then you will be able to address the slow internet issue with your Hughes satellite that is connected to the Rockspace extender. Also, don’t forget to update the firmware of your extender by accessing the re.rockspace.local address on a device connected to the Rockspace_ext network.
The Concluding Words
That’s all about the connection process between a Hughes satellite and a Rockspace WiFi range extender. It is expected that with the help of the person sent by Hughesnet, you will be able to get the satellite installed. We’ve also discussed the hacks in case the connection fails.
But, before wrapping up we want to let you know that you might need to replace your existing router or modem with the one brought in by Hughes. Only then, you will be able to install the satellite.