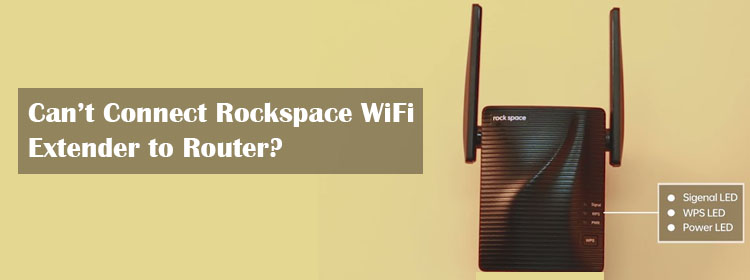
Can’t Connect Rockspace WiFi Extender to Router?
Rockspace WiFi extender needs to be connected to the main gateway or the host router before you begin using its WiFi. Are you getting trouble connecting the devices? We can help! This guide comprises the best solutions for you if you can’t connect Rockspace WiFi extender to the host router. We are sure that walking through this guide will assist you in resolving the problem and making the connection. Stick to reading.
How to Connect Rockspace WiFi Extender and Router?
The extender and router are first physically connected to each other. After that, you log in and get the setup done which is also a part of making the connection between them.
First of all, we want you to verify if you are using the correct process of getting the devices connected. Perhaps you are missing out on something or performing a step incorrectly and hence failing to connect Rockspace WiFi extender to the router.
There are two ways that you can use:
- WPS Method
- Web Interface Method
We suggest you refer to the Rockspace WiFi extender manual to get the instructions for both these methods and confirm the correctness of the process that you are using.
After you have confirmed the same if you still face issues, then use the hacks given ahead to troubleshoot the problem.
How to Fix Rockspace Extender and Router Connection Issue?
Use a Good Ethernet Cable
Using a good Ethernet cable to connect Rockspace WiFi extender with the host router is mandatory. If you haven’t kept this fact into consideration then you know what went wrong.
Examine the cable in use right now. See if it has cuts or if it is very old. Use a new one or another one which is in good condition.
Make tight connections between the devices using it to avoid any issues.
Verify the Ports in Use
When you connect the extender to the router using the cable, you must use the correct ports on both devices. FYI, use the Internet port on the extender and the LAN port on the router to join them. Besides, see that the ports are not dirty. Use a soft brush and clean the ports and make the connection once again.
Place Devices Closer
An alternative way you can use to connect the extender and router is wireless mode. In the absence of an Ethernet cable, you can opt for this one. If you are choosing this mode of connection, then it is suggested that the devices should be placed close to each other. Bring them near before setting them up. Simply put, place the extender within the router’s range.
Check Power Source
A poor power supply to both or any of the devices can also be a reason why you can’t connect Rockspace extender to the router. Verify the same by inspecting the power sockets and the power cables. None of these should be damaged. Plus the power cables must be plugged in properly.
In case of a power outage, use a UPS.
Eliminate Technical Glitches
After you are done making the necessary changes as discussed above, you should try connecting the devices. Once the physical connections are made, you can then set them up easily by accessing the login page via re.rockspace.local. But before doing so, perform a power cycle to get rid of any technical glitches which might be affecting the connections. To power cycle, do this:
- Turn off the extender and the router.
- Remove the power cables.
- Disconnect any other cable connected to them.
- Wait for some time.
- Connect the devices using a LAN (Ethernet) cable.
- Plug the power cables.
- Switch on the devices from the power buttons.
Verdict
You will now face no issues to connect Rockspace WiFi extender to the router. You can now connect to your extender’s WiFi on various devices and enjoy its internet connection.