Rockspace T1 Wireless Camera Setup
After launching a wide range of home routers and extenders, Rockspace stepped up and shifted its focus to home security too. Now, Rockspace is not only about accessing re.rockspace.local to set up its networking devices, but it also added a security product in line i.e. Rockspace T1 wireless camera to ensure home safety. The best thing is that setting it up does not require you to open up a web browser on a computer and access a web address. You just need one app to do Rockspace T1 wireless camera setup. If you’ve got the same camera and want to install it, this page will be of help to you. Read on.
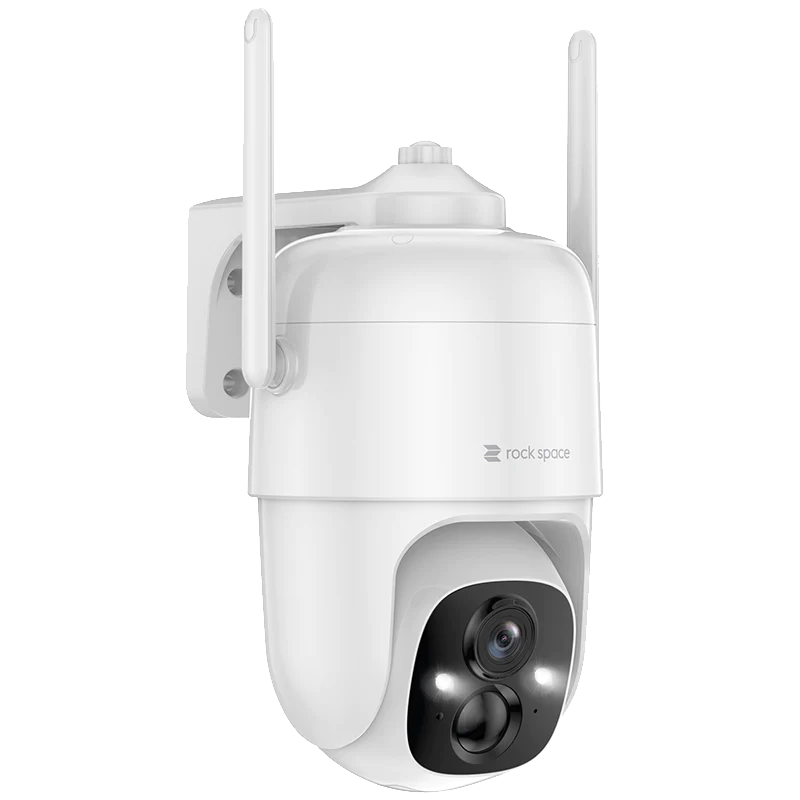
Rockspace T1 Wireless Camera: Features
Before making you aware of the steps to get your Rockspace cam installed, we want to give you a brief of what you will be able to do after installing it:
- 355-degree Pan and 90-degree tilt to protect your valuables from every angle
- Clear visions of the day and black and white night visions via infrared LED
- 9000 mAh ong-Lasting battery to prevent you from charging camera repeatedly
- Instant alerts by Smart Motion Detection
- See, hear, and talk with your visitors at any time and from anywhere
- Cloud Storage and Micro SD card (up to 128GB) so that you don’t miss a single activity
- Weatherproof design (14 degrees Fahrenheit to 113 degrees Fahrenheit)
Considering that you are now aware of the features of a Rockspace cam, it is time to learn about its setup process.
Rockspace T1 Wireless Camera Setup: Initial Steps
The steps given below will provide you with a detailed description of the installation process of your wireless security cam. However, before that, consider unboxing your Rockspace cam. Inside the box, you will find a camera, bracket, mounting kit, screw for the bracket, USB charging cable, and a user manual. FYI, the Rockspace T1 cam supports the battery-powered supply as well as the AC-powered supply.
1. Charge the Rockspace T1 Camera
Start the Rockspace T1 wireless camera setup process by charging your camera. For this, plug the micro USB cable into the charging adapter and connect the camera to a wall socket. The indicator light will start flashing yellow. When the camera will get fully charged, you will notice that the indicator light has turned solid green. Your Rockspace cam may take a few hours to get charged completely.
2. Download the Rockhome App
From camera setup to management, everything related to your Rockspace device will be carried out with the help of the Rockhome mobile application. Therefore, unlock your mobile phone and download the app in compliance with the smartphone’s app store. You need to download the up-to-date version of the Rockhome app to avoid issues during the Rockspace T1 wireless camera setup process.
3. Log in to the Rockhome Account
The next step is to log in to the Rockhome account. Thus, as soon as you find that the app is properly installed on your phone, launch it and log in using the appropriate details. However, if you don’t have a Rockhome account, consider creating one by following the instructions appearing on the screen.
4. Turn On the Rockspace T1 Camera
If your Rockspace camera is fully charged, you can power it up. For this, push the Power button on it. The indicator light on your wireless camera will turn blue and you’re free to take the next step of the Rockspace T1 wireless camera setup process.
5. Add the Camera
This is the final step of the Rockspace cam setup process. So, return to the Rockhome application, and tap the Add Camera now option. Now, all you are supposed to do is give a shot at the instructions appearing on the dashboard of the app. So, do as prompted and add the camera to your network.
With that, the first stage of the Rockspace T1 wireless camera setup process has been completed. However, you might come across various error messages while configuring your camera. Given in the next section are some of the most common error messages delivered by the T1 camera during the camera setup.
Rockspace T1 Wireless Camera Setup: Error Messages
1. WiFi password error: You are supposed to use the correct WiFi password in the Rockhome app.
2. Authentication error: In that scenario, make sure that your home network has a security level of WPA-2 or above.
3. WiFi not found: You ought to check on the WiFi network selected by you. Ensure that you’ve chosen the right one.
4. Retrieving IP timeout: It is indicating that your home network is already being accessed by numerous devices and is not ready to accept the camera. Thus, remove extra devices.
5. Cloud service connection fail: You need to ensure that the home network is capable of delivering optimal internet speeds.
Once you bypass these error messages, the Rockspace T1 wireless camera setup process will get completed and you will be all set to mount it and complete the final stage of the setup process.
Rockspace T1 Wireless Camera Setup: Final Steps
1. Select a Good Spot
Place the Rockspace cam in such a position that its view is not blocked. Also, keep it within the range of your home network.
2. Install the Bracket
Drill holes using the bracket slots as a guide. Thereafter, hold the T1 camera bracket up, and screw it in.
3. Fix the Camera
After installing the bracket, all you are required to do is put the camera upside down, connect it to the bracket, and fix it using the screw.
This completes the Rockspace T1 wireless camera setup process. Now, you are all set to have a panoramic view of the location where your camera is pointing at. Just in case you feel stuck during the Rockspace cam setup procedure, contacting our experts is what you need to do to get success with the process.